Round Corners 圆角
Introduction 引言
The traditional method for adding bevels to a mesh is through the 3d app's modelling tools. However, depending on the 3d app, this can be a laborious process, can introduce a lot of extra geometry and requires even more work to handle cases where multiple objects intersect each other.
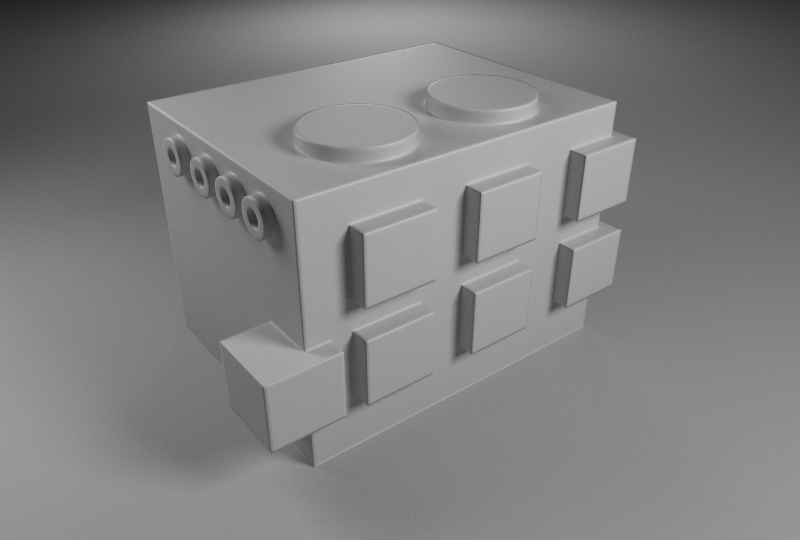
Redshift's Round Corners shading node produces a shading effect that simulates the look of round beveled edges but without introducing extra geometry. It can also work with intersections of objects, as shown in the images below.
传统的在网格上添加斜面的方法是通过3 d 应用程序的建模工具。然而,依赖于3 d 应用程序,这可能是一个费力的过程,可以引入大量额外的几何体,并需要更多的工作来处理多个对象相互交叉的情况。红移的圆角阴影节点产生一个阴影效果,模拟的外观圆的斜边,但没有引入额外的几何。它也可以处理物体的交叉点,如下图所示。
Wireframe view of the scene
现场的线框图视图
|
|
|
| Without round corners 没有圆角 | With round corners 有圆角的 |
Parameters
参数
Radius
半径
This controls the size of the bevel. Larger values will produce larger bevels. Since the Round Corners node is a shading trick, it can't represent very wide bevels so we advise using relatively small values to avoid any potential visual artifacts. More information about this can be found below.
这控制斜面的大小。更大的值会产生更大的斜面。由于圆角节点是一个阴影技巧,它不能代表非常宽的斜面,所以我们建议使用相对较小的值,以避免任何潜在的视觉工件。更多的信息可以在下面找到。
Num samples
数量样本
Round Corners works by shooting rays to 'discover' edges and corners. The 'Num samples' setting controls how many of these probing rays will be used. Larger values will produce smoother results, especially around corners but this will come at the cost of longer render times. We recommend starting with the default value of 6 and only increasing if absolutely necessary.
圆角的工作原理是通过射线来“发现”棱角。“数量样本”设置控制着将使用多少探测射线。更大的值会产生更平滑的效果,特别是在角落附近,但这将以更长的渲染时间为代价。我们建议从默认值6开始,只有在绝对必要的情况下才增加。
Round Corners Example
圆角例子
Using the Round Corners node is very simple: all you have to do is connect the node to the lighting shader's 'bump' input, as shown below.
使用圆角节点非常简单: 所有你需要做的就是连接节点到照明着色器的凹凸输入,如下所示。
If the object is already using bump mapping, you'll need to use Redshift's Bump Blender node to combine your previous bump map with the round corners node.
如果物体已经使用凹凸贴图,你需要使用红移的凹凸混合节点结合你以前的凹凸贴图与圆角节点。
In the images below, you can see how this works in Maya. The settings should be identical for all other 3d apps.
在下面的图片中,你可以看到这在玛雅是如何工作的。其他所有3 d 应用程序的设置应该是一样的。
We mix a fractal bump map with a round corners node, via a bump blender node
我们用一个圆角节点混合一个分形凹凸贴图,通过凹凸混合节点
For this example, we used the bump blender's "additive mode"
在本例中,我们使用了凸点搅拌器的“添加模式”
And here's the result!
这就是结果!
Artifacts and Limitations
人工制品和局限性
Since the Round Corners shading node is essentially a shading trick, there can be cases where it will fail. Here we explore the most common problematic cases.
由于圆角阴影节点本质上是一个阴影技巧,可能会有失败的情况下。在这里,我们探讨最常见的问题案例。
Effect of radius
半径的影响
When the radius setting is pushed too much, the resultant image will exhibit artifacts that have to do with the number of samples or with lighting. Below we see how the low (default) num samples produce what appear to be triangular artifacts.
当半径设置被推得太多时,结果图像将展示与样本数量或光照有关的人工制品。下面我们将看到低(默认) num 样本是如何产生看起来像是三角形构件的。
|
|
|
|
|
Radius 0.05. Looks ok. 半径0.05看起来没问题。 |
Radius 0.1. Still looks ok but some small artifacts appear near corners. 半径0.1。仍然看起来不错,但一些小的人工制品出现在角落附近。 |
Radius 0.3. Notice the visible triangular artifacts near the corners. 半径0.3。注意角落附近可见的三角形人工制品。 |
The triangular artifacts can be helped with a larger 'num samples' settings. However, even then, a large radius setting creates a situation where the lighting/reflection rays are 'rounded' but are getting blocked by the mesh which still has sharp corners and edges! When this happens some edges might not look rounded, as shown below.
三角形工件可以帮助一个更大的’数量样本’设置。然而,即使这样,一个大半径设置创造了一种情况,照明/反射光线是“圆形”的,但是被网格阻挡,仍然有尖角和边缘!当这种情况发生时,一些边缘可能看起来不是圆形的,如下所示。
|
|
|
|
Default 6 samples 默认值6示例 |
Increased to 32 samples which helps but some edges still don't look 'round' 增加到32个样本,但是有些边缘看起来仍然不圆 |
If you bump into this issue, switching to traditional beveling methods might be a better choice for your scene or object. 如果你碰到这个问题,切换到传统的坡口方法可能是一个更好的选择为您的场景或对象
Another issue that can happen with round corners is with intersecting objects producing 'inner' (hidden) or near-coplanar polygons.
In the following example the hidden sides of the cubes are 'tricking' the round corners algorithm into thinking that there are corners there.
圆角的另一个问题是相交的物体会产生“内部”(隐藏的)或近共面的多边形。在下面的示例中,立方体的隐藏边正在“欺骗”圆角算法,让它们以为那里有角。
|
|
|
|
Two cubes, exactly side-by-side 两个立方体,正好并排 |
Inner (hidden) polygons producing false edges 产生假边缘的内(隐藏)多边形 |
The only solution in this case, is to delete the hidden polygons or boolean the objects together.
在这种情况下,唯一的解决办法是,删除隐藏的多边形或布尔一起对象。


